
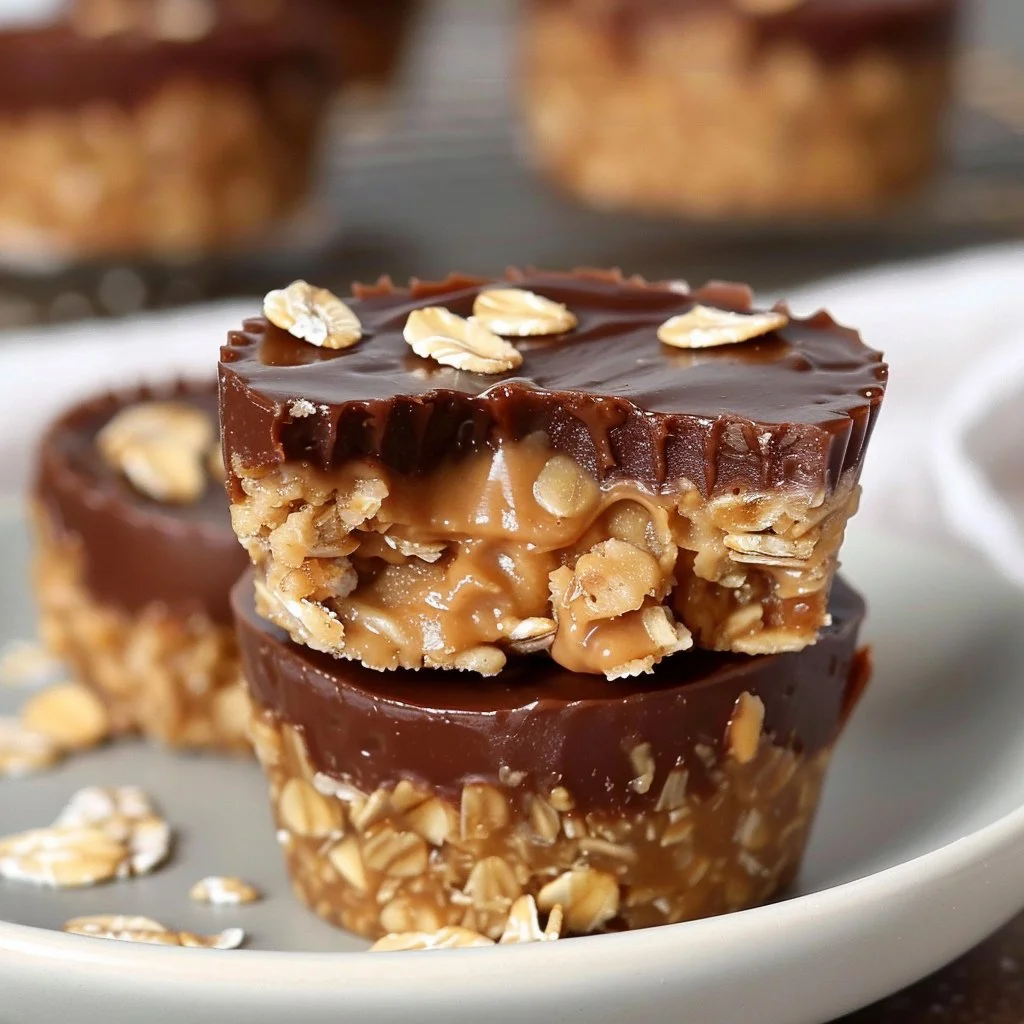
There’s something irresistibly comforting about the combination of peanut butter and oats, especially when it comes together in a simple, no-bake treat. Imagine sinking your teeth into a chewy, chocolatey oat cup, the rich flavor of natural peanut butter melting into a sweet, yet not too sweet, symphony on your palate. The smell of peanut butter wafting through your kitchen beckons you to indulge, while the texture, a perfect blend of chewiness from the oats and creaminess from the peanut butter, turns every bite into a little paradise of flavor. These treats are not only quick to whip up but also satisfy that afternoon slump or sweet craving in the healthiest way possible.
Why you’ll love this recipe
- Quick and Easy: No oven required! Just mix, press, and chill.
- Nutritious Ingredients: Packed with protein and fiber, these cups are a guilt-free indulgence.
- Customizable Flavor: With options to tailor the recipe, you can make it your own every time!
- Low Sugar Delight: Satisfy your sweet tooth without the guilt of excess sugar.
- Perfect Snack: Ideal for kids and adults alike, they’re a great on-the-go energy booster.
"Healthy snacking has never been so delicious!"
Gather your ingredients
Ingredients
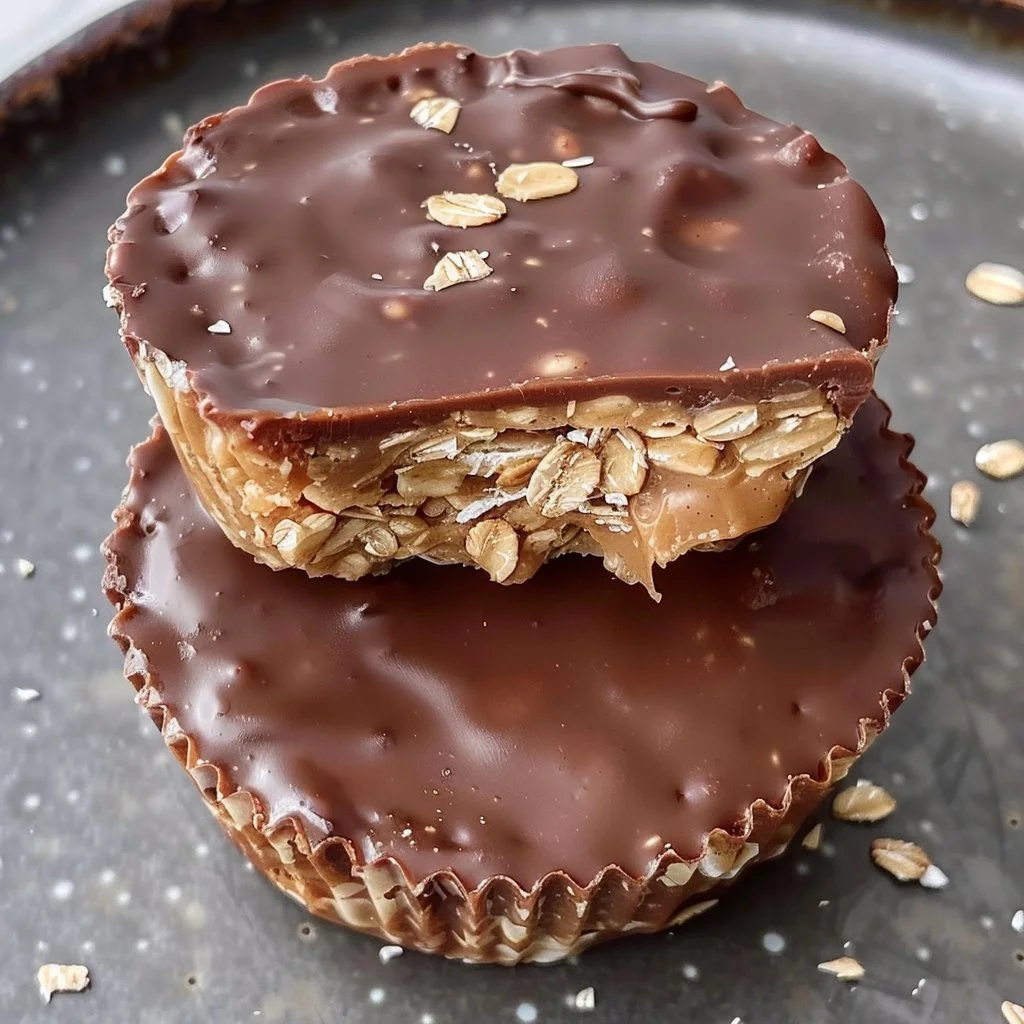
- 1 cup rolled oats
- 1/2 cup natural peanut butter
- 1/4 cup honey or maple syrup
- 1/4 cup unsweetened cocoa powder
- 1/4 teaspoon salt
- 1/2 teaspoon vanilla extract
How it comes together
Creating these delightful Low Sugar No Bake Peanut Butter Oat Cups is genuinely simple yet rewarding. Begin by gathering all your ingredients. The beauty of this recipe lies in its ease; you’ll only need a bowl, a spatula, and a muffin tin or a small dish. In just a few minutes, you’ll mix everything together, mold the mixture into shape, and let the fridge do the hard work of setting the cups.
Step-by-step instructions
- In a bowl, mix the rolled oats, peanut butter, honey or maple syrup, cocoa powder, salt, and vanilla extract until well combined.
- Press the mixture into lined muffin tins or a small dish, ensuring it’s packed tightly.
- Refrigerate for at least 30 minutes to set.
- Once set, cut into bars or cups and enjoy as a healthy snack or dessert.
Pro tips for success
- Timing is Key: Allowing the cups to set for at least 30 minutes is crucial for the optimal texture.
- Press Firmly: Make sure to press the mixture down firmly into the tins; this helps them hold their shape after chilling.
- Taste Test: Before setting the mixture, taste it! Adjust the sweetness with more honey or syrup if desired.
- Uniform Size: For even portions, use a cookie scoop to portion the mixture into each muffin slot.
- Storage Check: Ensure they are completely cooled before covering or refrigerating to avoid condensation.
Recipe variations
- Nut Butters: Swap out peanut butter for almond or cashew butter for a different nutty flavor.
- Sweeteners: Use agave nectar or coconut sugar instead of honey or maple syrup for a different sweetness profile.
- Add-ins: Toss in some mini chocolate chips, seeds, or dried fruits for added texture and flavor.
- Spices: Add a pinch of cinnamon or nutmeg to give these cups a cozy flavor twist.
Serving & storage
These oat cups are perfect for meal prep! They can be stored in the refrigerator for up to a week, or freeze them for longer storage. When you’re ready to enjoy, simply take them out, and they’re ready to go. Serve them plain, or pair with sliced fruits for a delightful snack or light dessert.
- Fridge: Store in an airtight container for up to a week.
- Freezer: These treats freeze well! Place in a freezer-safe container, separated by parchment paper to avoid sticking. They can last up to three months.
- Reheating: If frozen, allow them to thaw in the fridge for a few hours before enjoying.
FAQ
Can I make these nut-free?
Yes! You can easily substitute the peanut butter with sunflower seed butter for a nut-free alternative.
What if I don’t have cocoa powder?
You can leave out the cocoa powder for a classic peanut butter oat flavor or add carob powder for a unique twist.
Are these suitable for a vegan diet?
Absolutely! Just ensure you use maple syrup instead of honey for a fully vegan-friendly option.
How do I know when they’re set?
The oat cups should be firm to the touch and hold their shape when removed from the muffin tin.
Can I mix in protein powder?
Yes! Adding a scoop of your favorite protein powder can enhance the nutritional value without altering the flavor too much.
Final thoughts
These Low Sugar No Bake Peanut Butter Oat Cups are not only a breeze to make but are sure to satisfy your sweet cravings while keeping health in check. Perfect for a snack or a light dessert, they could become your new go-to treat. With their flexibility and ease, it’s time to grab those ingredients and get started. If you enjoyed this recipe, consider saving and sharing it on Pinterest for your friends to discover!
Print
Low Sugar No Bake Peanut Butter Oat Cups
- Prep Time: 10 minutes
- Cook Time: 0 minutes
- Total Time: 40 minutes
- Yield: 12 servings
- Category: Snack
- Method: No-Bake
- Cuisine: American
- Diet: Vegan
Description
Irresistible no-bake oat cups made with natural peanut butter and cocoa powder, perfect for a healthy snack or dessert.
Ingredients
- 1 cup rolled oats
- 1/2 cup natural peanut butter
- 1/4 cup honey or maple syrup
- 1/4 cup unsweetened cocoa powder
- 1/4 teaspoon salt
- 1/2 teaspoon vanilla extract
Instructions
- Mix the rolled oats, peanut butter, honey or maple syrup, cocoa powder, salt, and vanilla extract until well combined.
- Press the mixture into lined muffin tins or a small dish, ensuring it’s packed tightly.
- Refrigerate for at least 30 minutes to set.
- Cut into bars or cups and enjoy as a healthy snack or dessert.
Notes
Allow the cups to set for at least 30 minutes for optimal texture. Customize with different nut butters or sweeteners as desired.